Follow Me on Pinterest

Tuesday, October 23, 2012

Felt Bracelets With Beads
something Fabulous to wear with that Fabulous outfit.
You can wear several of them at one time or mix one or two with the bracelets you already own. Either way it's a great fashion statment.


1.


2.


3. (SOLD)


4.


5.


6.


7.


8.


email for details


Thursday, October 18, 2012

Pocket Prayer and Pouch

Many years ago an elderly woman sold me one of these for .50 at a church fair and since then,   I have been making and giving them away.


I carry in my pocket
A simple reminder to me
Of the fact that I am a Christian
No matter where I may be.
This little cross is not magic,
Nor is it a good luck charm
It isn’t meant to protect me
From every physical harm
It’s not for identification
For all the world to see
It’s simply an understanding
Between my Savior and me
When I put my hand in my pocket
To bring out a coin or a key
The cross is there to remind me
Of the price He paid for me.
It reminds me too, to be thankful
For my blessing day by day
And to strive and serve Him better
In all that I do and say
It’s also a daily reminder
Of the peace and comfort I share
With all who know my Master
And give themselves to His care
So I carry a cross in my pocket
Reminding no one but me
That Jesus Christ is the Lord of my life
If only I’ll let Him be.


Make 3 copies of the verse, cut them with a decent margin all around. Glue them to an 8 1/2x11 sheet of paper side by side on the landscape layout. Then make as many copies as you want without printing this page each time.  From your copies cut the verse with a small margin all around. Now fold to fit your pouch. 

Pouch template can be found in the archives to the right.


Pocket Prayer Pouch Template

Print out the pouch template and adhere to cardstock or medium weight cardboard.
 I do this with Heat N' Bond or Wonder Under, following the product instructions.
Attaching the template to cardboard  makes it easier to trace around onto chosen fabric. 

As for the fabric, choose from your scrap stash or purchase some new. What ever you decide bond onto the back of the fabric with brown craft paper. This strengthens the fabric and gives it some stiffness. Perfect for this project.

After tracing your pouches, cut them out, I say pouches because you can't just make one, you'll want to give one to everyone you know. 

You don't have to score the fold lines it pretty much folds it'self. 
 First fold inward the left and right flaps, then bring the bottom flap up to cover the first  two flaps to form an envelope. 
Glue the flaps, let the glue dry before you insert the folded prayer.


CORN on the COB COINS

Corn on the Cob Coins

This is my new favorite way to eat corn on the cob.


First roast the corn with the husk still on it for about 30 to 40 min. Before roasting cut about 1 inch off the large end, still leaving the husk on. Place in a covered  pan. After it's done roasting hold the small end up and let the corn slip out of the husk, silk and all. Cut the corn into 1 inch slices. Place it back in the baking dish with seasoning and butter and roast for an additional 20 min or so.

I have to confess, the Corn Cob Coins is not my idea. I found it on www.pinterest.com and had to share.

While I baked the corn I also baked some bratwurst and came up with this party dish idea.  I cut the bratwurst into slant cut sections put the corn and the brats all in the same pan did the 20 min. roasting without the butter. It makes a nice plate of food, all it needs is a small salad.

The corn is easy to eat, you don't have more on your plate then you can eat. kids will like it this way too. 

ENJOY!

10-25-2012

I made this for my grandsons today, now it's their favorite way to eat corn on the cob too.

Framed Wall Art


Wall Art Originals
by
 Sharon

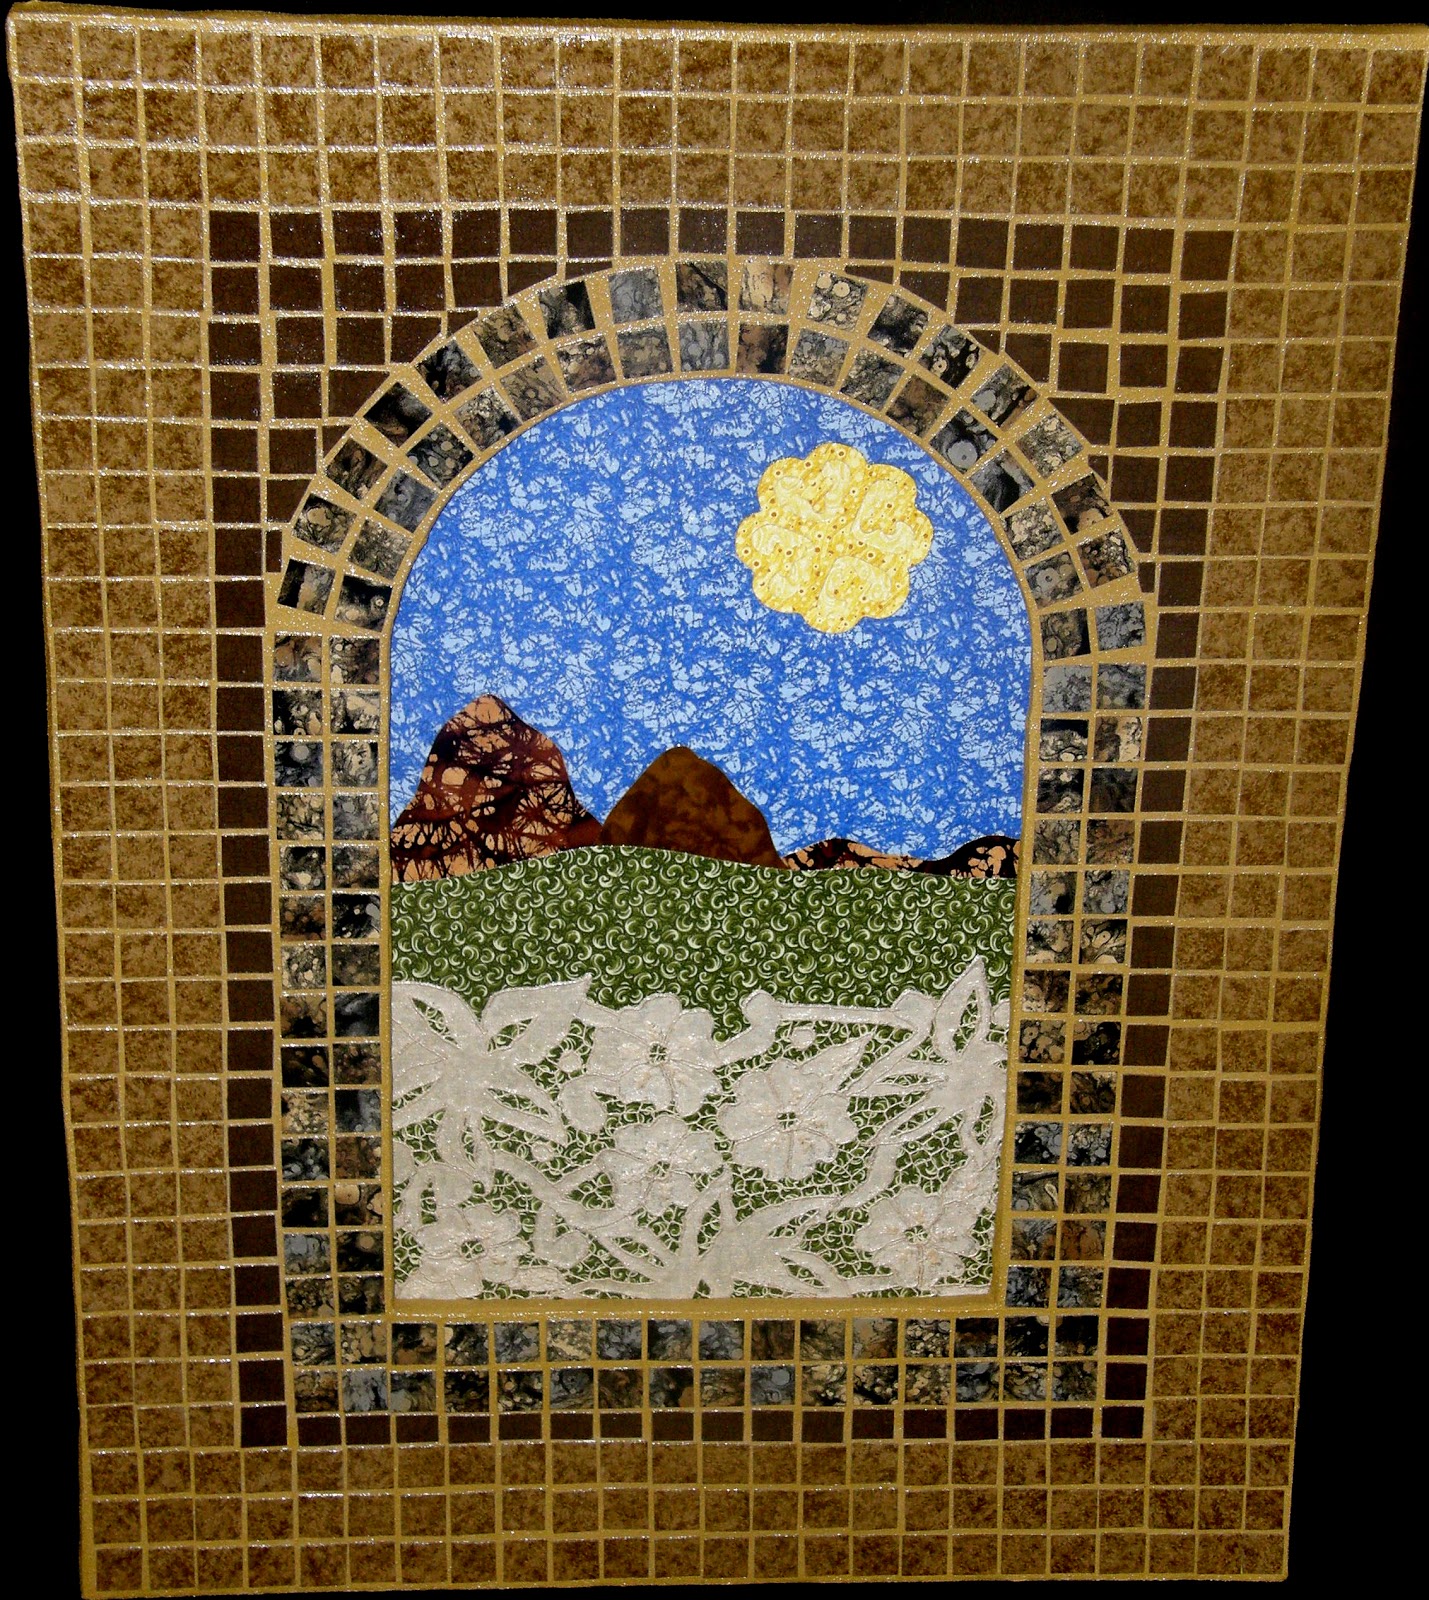
These are a few of my original art works, completly framed and ready to hang. E-mail me at sharon.wilkerson51@yahoo.com or millows62@gmail.com  for details.


36x28    "A Minds View"
    

34x18   "My Little World"

38x35   "Paladin"

36x29   "We Are Sisters"

38x19   "Calm"

36x29    "Looking Back At You"


38x20   "More Than Just Women"

Detail


Tuesday, October 16, 2012

Money Keeper


The Money Keeper


When I was of dating age Mom always told my sisters and I to have what she called "Mad Money" in our purse, incase the date went wrong we could get ourself home.

Well this is my updated version of that idea with a little style.

Use the instructions from http://pm-betweenthelines.blogspot.com/2011/03/simple-drawstring-coin-purse-tutorial.html to make your Money Keeper.

The website used suade but, other fabrics can be used for this project.

I fused faux suade to cotton fabric with fusing web to make a more durable pouch.

Cut both fabrics slightly larger than you need, place your heavier fabric onto the ironing board wrong side up, then place on top of that your fusable webbing, then finish with the last piece of fabric, right side up. Follow webbing directions for ironing, use a pressing cloth if needed.

Use an old cd to make the circle, it's the right size. First make a paper copy, follow the directions at the site for adding the lacing holes placement. 

Optional step, make a copy of this pattern onto cardboard for a more durable pattern if you want to make more of them later.

Trace around the pattern onto the inside surface of your fabric choice, don't forget to mark for the lace holes, cut it out and punch holes.

I used ribbon as the lace to match my fabric.

Copy and paste the tag and make as many as you need.


"Money Keeper"
Put a couple of bucks inside
Place at bottom of purse
Then forget it, till you need it

Place your Money Keeper into a small gift bag or box along with the tag.

It's a great stocking stuffer.
Enjoy!

10-26-2012

Here is one that I made for gifts.

The outer fabric is brown faux suede with  tan flowers heat embosed onto the surface.
The inside is red cotton fused with thermal webbing. Once this is done the fabric will not ravel at the edges plus you've already added the lining. Very neat.
Hint:  For non suede fabrics, fuse your fabric before you cut out the Money Keeper. 

Decoupage Medium

I use so much of this stuff it got to the point of being costly so, I decided to make my own.
----------------------------------------------------------------------------------
DIY DECOUPAGE MEDIUM
NEED LIST:
White Glue
Clear Wall Paper Paste
Clear Acrylic Floor Care Finish
Kitchen Whisk
Heavy Duty Wooden Spoon
First thing, place desired amount of wall paper paste in a large bowl. The paste is sort of lumpy so you will have to whisk it till it’s smooth.  When that is done, pour in the white glue, (double the amount of the wall paper paste). At this point you can continue to use the whisk or change to a heavy duty wooden spoon, mix well. Now, pour in the acrylic floor finish, stir till well blended. This whole mixture should resemble the consistence of the white glue when done. This stuff lasts a long time, no shelf life expectancy.
NOTE: I use a lot of this mixture in my work, so I buy the gallon size pail of wall paper paste, the gallon jug of white glue, and the largest bottle of floor acrylic. I also get a large bucket with a lid and make as much as the bucket will hold. Depending on the project I either work from the bucket or pour some into a small jar or bowl.